Showing posts with label German Paper Scraps. Show all posts

Wednesday, February 6, 2013

Valentine Hearts & Roses


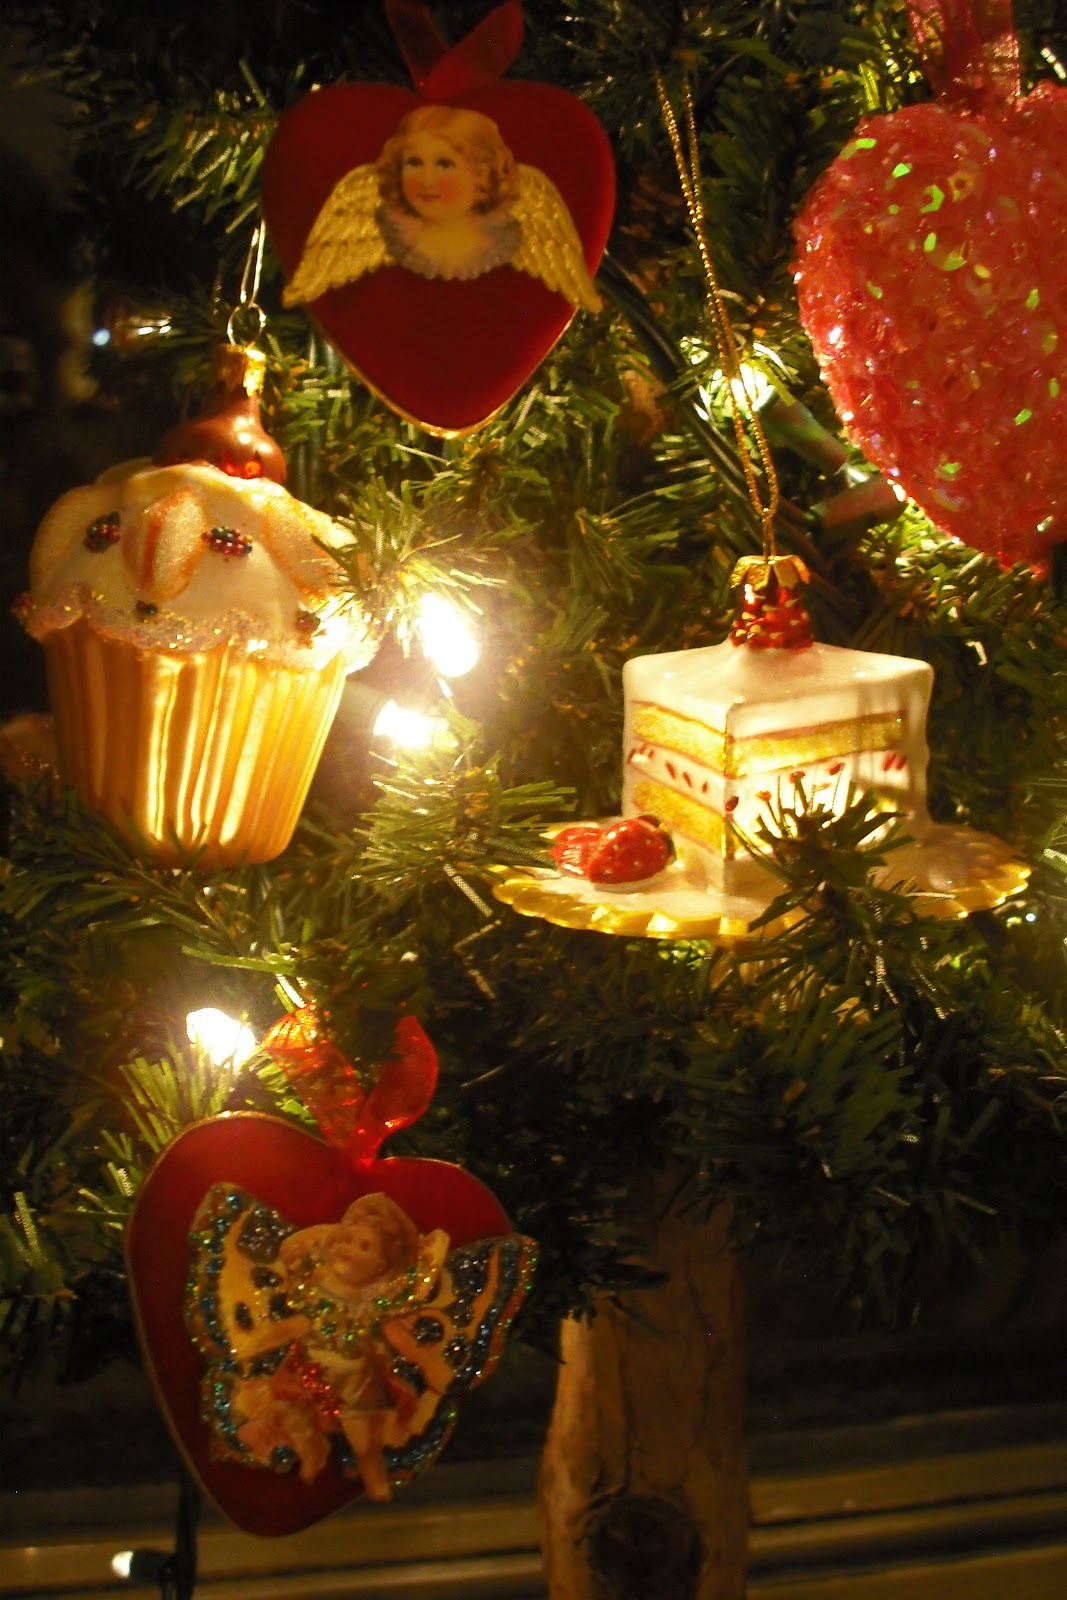
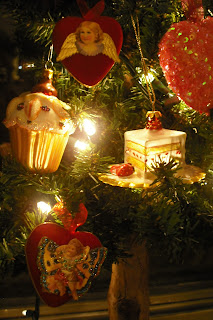
So, in case you haven’t noticed yet, I’m a bit of a holiday nerd.  At Christmas I decorate 5 themed Christmas trees.  2 of the trees are paired together and are adorned with pastry and candy ornaments. Mid-January I take down all trees but these ones.  I remove any Christmas themed ornaments and then add in my heart ornaments to make it a Valentine’s hearts and sweets tree. Below is a craft for decorating heart ornaments with dresden trims.


Velvet Heart Ornaments
What You Need:

Velvet heart ornaments
Dresden trims, ribbons, die cut scrap papers, stickers, etc.
Glue

Glue trim on the edge of the ornament.
Glue a decoration into the center of the ornament.
Hang and enjoy!


Have you ever heard the expression “wearing your heart on your sleeve”? In the early 1900’s people would celebrate holidays by dressing up in crepe paper costumes and accessories. At Valentine’s Day parties women would write their names on a heart shaped piece of paper and put it into a pile. Men would draw names and wear it on their sleeves to claim the love of the chosen woman.


Valentine’s Treat Bags
What You Need:

Small paper bags
Doilies, Valentine’s theme scrap paper cut in squares
*Glue
Stapler
Stickers, dresdens, die cut scrap papers
Candy


Fill the paper bags with candy.  Fold the top of the bag.
Fold the doily or paper in half and place over the top of the folded bag.  Staple the two together, right in the middle to close the treat bag.


 Adhere the sticker or decoration in the middle to cover up the staple.
Hand out to all of your sweethearts!


 Valentine's Day
Every February 14th we celebrate Valentine’s Day. Children make Valentines and put them into each other’s artfully decorated valentine mail boxes and eat pink and red cupcakes and candies.  Lovers celebrate with a romantic dinner and lavish gifts like expensive roses, fragrant perfumes, enormous heart shaped boxes of chocolates, and jewelry coated in diamonds and dripped in gold. 

Valentine’s Day has many symbols attached to this romantic holiday.  One of the most popular is a little winged baby with an arch and arrow who helps people fall madly in love.  This cherub, named Cupid is the son of Venus, the goddess of love.  Cupid’s arrows are meant to make someone fall in love with the first person that they lay eyes on.  Many cards and decorations depict cupid shooting young sweethearts with his arrows.


Broken is this heart of mine
And so to you I send it.
Because my dearest Valentine
Your love alone can mend it.

Roses are red; violets are blue, what does a rose really mean to you?  There are over 100 species of roses ranging in many colors, primarily hues of red, pink, white, and yellow. White roses symbolize true love, purity and innocence.  Red roses are for love and desire.  Don’t get yellow roses for your sweet heart!  They represent friendship. Pink roses are very neutral and symbolize friendship, happiness, and love.

According to ancient Greek mythology Aphrodite, the Goddess of Love created the white rose.  As she ascended from the sea, white roses sprung up from the sea foam. After her lover Adonis was wounded by a wild boar her tears mixed with his blood dyed the roses red. In ancient Persia, it was believed that roses were originally white.  Allah named the rose “the queen of the flowers”. One night Allah transformed into a nightingale swooped down to smell the beautiful fragrance of the rose.  Allah was stabbed in the heart by the thorns and his blood dyed the roses red. Some Christians believe that roses originated in the beautiful Garden of Eden. These roses were believed to have no thorns on their stems until the fall of man when Adam and Eve each took a bite from an apple.

 I hope that you have a Merry Valentine's Day!


Friday, February 1, 2013

Valentine's Day Wreath


I’ve asked you once, I’ll ask you twice,
I’ll ask you seven times seven;
For if you’ll be my Valentine,
This earth will be my Heaven
                                                               
Valentine’s Wreath

What you need:

Round or Heart Wreath- made of wood, cardboard, foam, etc.
Heart doilies
Valentine cards, clip art, stickers, cut outs, dresdens, die cut scrap papers, scrap paper, etc.
Glitter
Glue
Ribbon for hanging
Paint


Paint the wreath and then attach the ribbon.  You will want to glue it in place.


Get creative! Glitter the valentine cut outs.


Arrange and glue the doilies.


Before gluing, arrange the pieces on the wreath so that you can place them just right.  Make sure to have a balance of color and shapes throughout the entire wreath.  Glue and let it dry.


Sunday, February 12, 2012

Valentine's Sweets for your Sweetie

Valentine Heart Boxes
Like many of my do it yourself craft projects, I leave a lot of the imagination up to you.  Below are the different items that you my use to decorate these boxes.  Vintage Valentine’s cards can be found in antique stores.  Of course it’s best to find your supplies around Valentine’s Day.  Start by painting the boxes, inside and out before you decorate them.

You Will Need:
Heart shaped boxes
Paints (I like the metallic ones)
Old Valentines or scrap papers
Glitter and glue
Heart scraps and Dresden’s


This box had some decorative indentions in it.  I decided to paint it pink and then lightly follow the pattern with gold paint.  I decorated cherub scrap paper with glitter and then glue it to the lid.  Then I glued a small gold star shaped Dresden’s to the sides and then jewels in the center of each one.


By using heart shapes that are larger than the box, this style closely resembles a chocolate candy box.   I cut out red cardstock in the shape of a foil heart doily and then glued them together.  Then glued one as the base and one on top of the lid.  Then I decorated it with a heart shaped foil Dresden and a flower scrap paper.  Glittering flower scraps are difficult so I just glittered the edges.


This box uses an old Valentine that I embellished with glitter.  I glued it to a gold foil heart doily and then to the lid.  I happened to have a long gold foil border which is a long strip.  I trimmed up the bottom and glued it on.


Chocolate Truffles
There are so many ways to flavor truffles.  I’m always trying to come up with new flavors.  When “inventing” a new flavor, use extracts, dried fruits, citrus peels, and spices.  You don’t want to add a lot of liquid, so think concentrated. Coat them in cocoa, chopped nuts, sprinkles, etc.  When choosing your chocolate, don’t be cheap.  I won’t name names, but there is a very popular “chocolate morsel” that I do not recommend for anything unless it’s chocolate chip cookies.  You don’t have to spend a lot, but use the better chocolate chips at your local grocery store. Semi-sweet chocolate is traditionally 35% chocolate liquor and 12% milk solids. Below is my basic truffle base.

Basic Truffle Base
1/3 C Heavy Whipping Cream
6 T Unsalted Butter
2 C Semi-Sweet Chocolate Chips
Cocoa Powder, Approx. ¾ C

Over  double boiler (pot of light boiling water with a metal bowl over it), heat the cream and the butter.  Stir in the chocolate.
*at this point you would add your flavoring

Let it cool in the refrigerator for at least 1 hour and scoop them out.  Roll them into a   ball and then in the cocoa powder (or nuts, sprinkles).
*I find this to be very messy as this point.  My tips are to use a small ice cream scoop and to roll them lightly and quickly and put them into the cocoa in approximately multiples of 6 at a time. The heat from your hands will melt them. 
Clean and dry your hands, and then roll it in the cocoa.  I recommend storing them in the refrigerator until about 30 minutes before serving but refrigeration is not necessary.

My Most Inquisitive Flavors:
Dried cherries with chopped pistachios
Crystalized ginger with fresh orange zest, rolled in white and black sesame seeds
Crispy bacon with maple syrup and cracked pepper (substitute the butter for the rendered bacon fat)
Dried cranberries rolled in pecans
Port reduction with almonds
Nutella rolled in chopped hazelnuts


Chocolate Marzipan Candies
Marzipan is traditionally made by grinding whole almonds with sugar or sugar syrup and drying it into a paste.  It is popular in European deserts including cake icing, stollen, fruit cake, chocolate candies and rolled into figurines of animals, fruits, and vegetables. The recipe below is best with baking marzipan which is a slightly finer paste.

Melt semi sweet chocolate in a double boiler or slowly in the microwave.  Fill chocolate molds slightly less than half way. Pick up the mold into the air and carefully rotate it so that the chocolate coats the entire mold.  Refrigerate for bout 2-5 minutes.

Take the marzipan and roll it into small balls.  Put them into the molds and then cover with chocolate to the top.  Let them cool completely and then pop them out of the container. Serve as is or in small baking cups.

Saturday, August 27, 2011

German Paper Scraps......Vintage Inspired Necklaces

Hello Housewives & Househusbands!
Today I would like to introduce you to one of my favorite crafting mediums, vintage German scraps.  I like to glitter them and then use them in all sorts of items.  The main place that I get these from is http://www.blumchen.com/ which is a holiday crafting site.  They're very reasonably priced and you can't find anything like these in your local hobby store.  These scraps are either vintage or reproductions of original German scraps from the early 1900's.  Below are some angel scraps from my craft room.


I also like to use postcard from the early 1900's that I find in antique stores. They are typically $1-5 each.  There are so many themes out there.  I like to collect the holiday ones and the "best girlfriends" styles.  You will get to see how I use these for crafting another time.  Below are a few of my favorite ones.


One last place for inspiration can be found at your local bookstore.  Below is an assortment of cards by Punch Studio which are inspired by paper crafts of the early 1900's. I Love, Love, Love these designs!


On to the necklaces.  What you need is a metal/glass charm to hold your pictures, necklace or ribbon, your favorite scrap, glitter, glue, and specialty paper.  Below are the supplies that I used.


Carefully cut out the scraps.  I like to use a crafting knife to get a good edge on it.  Make sure that your image will fit in the charm.  It's up to you if you want to glitter, but I recommend using Martha Stewart glitters and glues.  Then glue them to the paper, and cut to fit the charm.  You can even make them double sided if you want extra variety.  Put them in the frame and hang them on a necklace or ribbon.  These can also be used as a wall or window hanging.  And here they are.......