With Halloween candles burning bright
Beneath the moons bewitching light
May ghosts and goblins grant to you
That all your wishes will come true

Halloween is one of my favorite times of year because it’s a very imaginative holiday. Witches, ghosts, Jack o’ lanterns, and bobbing for apples are all part of our American time honored traditions. Children and adults alike dress up in the silliest or scariest costumes that they can find to go Trick or Treating and attend frightful Halloween festivities.
Every year I love to decorate my home for Halloween. This year I decided to create a few more additions to my collection. A Halloween banner, pictures, and an ornament adorned tree. So go to your craft rooms and be inspired!

Beneath the moons bewitching light
May ghosts and goblins grant to you
That all your wishes will come true
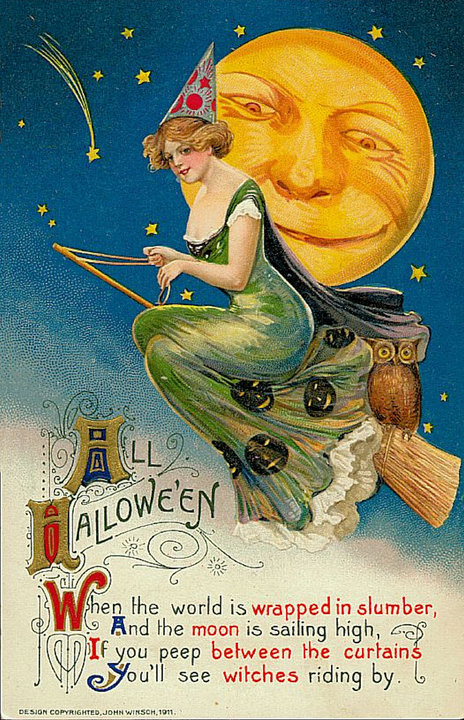
Halloween is one of my favorite times of year because it’s a very imaginative holiday. Witches, ghosts, Jack o’ lanterns, and bobbing for apples are all part of our American time honored traditions. Children and adults alike dress up in the silliest or scariest costumes that they can find to go Trick or Treating and attend frightful Halloween festivities.
Every year I love to decorate my home for Halloween. This year I decided to create a few more additions to my collection. A Halloween banner, pictures, and an ornament adorned tree. So go to your craft rooms and be inspired!
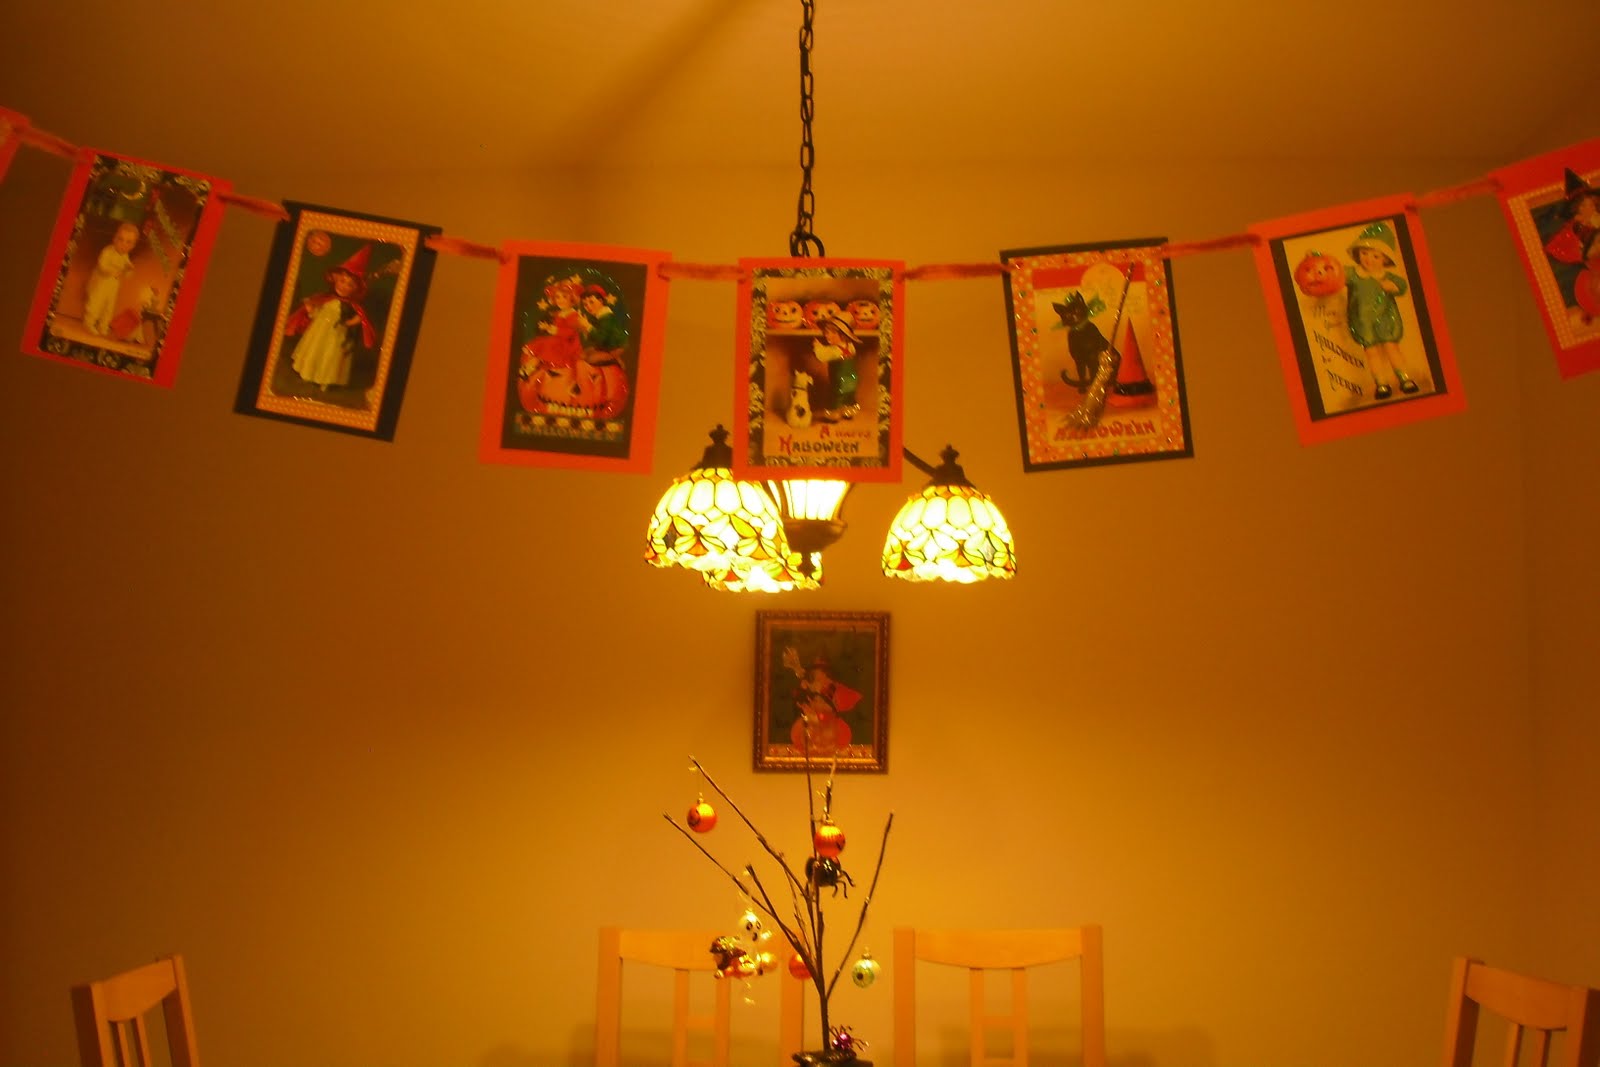
Vintage Inspired Halloween Banner
What you need:
Vintage style cards *I found mine at www.blumchen.com and from Punch Studio at Barnes & Noble
A variety of black and orange cardstock and scrapbooking papers
Glues – glittering glue and I prefer rubber cement
Glitters, fine cut
Scissors, a paper cutter, and a hole punch
A really really long sturdy orange or black ribbon, approximately 9 feet long

1. Pick out the cards that you’d like to use and lay them out to make sure that you have a good variety. When I created my placement I made sure to break up the witches, pumpkins, and black cats so that they were not all on one side of the banner.

2. Trim the cards and cut the cardstock into equal sized rectangles or squares that you will use as your base. Also cut squares or rectangles from the decorative scrapbook papers which you will use in-between the card stock and the cards. Be creative in your choices.
3. Pick different accents of the post cards to glitter. I like to do this process on a paper plate so that there is less of a glittery mess. If you’re glittering close together, wait and let it dry in-between colors. Once dry I like to use a brush to get all of the extra glitter off of it.
4. Using the rubber cement, glue the papers together and let them dry.

5. Punch holes on each side about 1 cm from the top and thread the ribbon through.
Hang and enjoy!
*you can also make a mini banner using Halloween stickers

Vintage Inspired Halloween Pictures
Using basically the same process as above, you can craft these pictures to display on a table or a wall. For a larger picture a gift bag can be used.
Follow steps 2-4 from above.
Fit the paper to the picture frame and then clean the glass of the frame. Place it in the frame and double check that it’s even. Trim if needed.


Halloween Tree
What you will need:
LED branch
Base *vase, pot or large candle holder
Foam to fit the base
Large knife
Ornaments
Rocks, moss or other covering *I glittered black rocks
Spider *preferable a fake one
Cut the foam into a box that fits just below the brim of the base. If you’re using LED with a battery pack, cut out a spot to hide it. Fill in the sides with small pieces of foam to hold it all in place. Poke the branch into the middle and pull the branches apart.
Put a spider at the base and decorate the tree.
I Hope You Have a Very Merry Halloween!
No comments:
Post a Comment